


Tile Installation Tips: Mistakes to Avoid When Installing Tiles
A single slip in your tile laying process can make your dream remodeling project a nightmare that may cost you a lot. You can pay a lot of money for premium marble or porcelain and then weeks later, you find a hairline crack spider-webbing your floor. The truth is, most DIY disasters don't happen because of bad luck; they happen because homeowners rush the tile installation process. If you want a professional finish that lasts decades rather than months, you need to know exactly where the hidden "traps" are. This tile installation guide isn't just about glue and grout—it’s about preventing regret and protecting your investment.
Introduction
The beginning of a renovation is a great thing to start, but one misstep during your tile installation process can soon turn the excitement into an expensive cleanup bill. Most individuals start with the fun part of laying pieces down without knowing that the steps that were not taken in the tile installation steps are the ones that normally lead to cracks at the end. This tile installation guide is about the red flags you should be aware of to make sure that your floor does not only look good in a few decades but is also solid. We shall pass through the steps of learning to do the tile-laying process with professional accuracy.
Important Tile Installation Steps Before You Start
Preparation is 90% of a successful project. If you ignore the foundation, even the most beautiful tiles collection will eventually fail.
Before you mix a single batch of mortar, follow these critical tile installation steps:
-
Subfloor Inspection: Ensure the surface is perfectly flat, dry, and structurally sound.
-
Layout Planning: Dry-lay your tiles to check for "slivers" at the edges.
-
Cleaning: Get rid of all dust and oils; otherwise, the adhesive will not stick.
-
Tool Check: It is important to have the right size of trowel to use on the tile.
-
Material Prep: Check that there is 10-15% additional material to cuts and waste.
Most Common Tile Installation Mistakes Homeowners Make
Most errors occur when the tile laying process is treated as a race. First, "spot-bonding" (putting a blob of mortar only in the corners) creates hollow spots that crack under weight. Second, skipping the "back-buttering" step on large tiles leads to poor adhesion. Third, homeowners often ignore the manufacturer's drying times, walking on tiles before they have set. Finally, using the wrong adhesive for the environment—like using standard mastic in a wet shower—is a recipe for mold and falling tiles. Don't let these simple errors ruin your tile installation process.
Wall Tile Installation vs Floor Tile Installation
Gravity is your biggest enemy during a wall tile installation. Unlike floors, where tiles stay put, wall tiles want to slide down. For a successful wall tile installation, you must use a high-tack adhesive and often a "ledger board" to support the first row. While the tile laying process for floors focuses on weight distribution and impact resistance, walls focus on vertical alignment and weight per square foot. If you are attempting a subway tile installation on a kitchen backsplash, remember that wall surfaces often have more "waves" than floors, requiring a thinner, more precise application of mortar.
Ceramic Tile Installation Tips for Better Durability
When performing a ceramic tile installation, moisture control is everything. Ceramic is beautiful but can be more porous than porcelain, making it sensitive to the environment.
-
Soak Prevention: Never soak ceramic tiles in water before laying; it weakens the bond with modern thin-sets.
-
Proper Troweling: Use directional troweling (straight lines) to let air escape.
-
Edge Protection: Use trim pieces to prevent the exposed edges of a ceramic tile installation from chipping.
-
Subfloor Flex: If installing over wood, use a cement backer board to prevent movement.
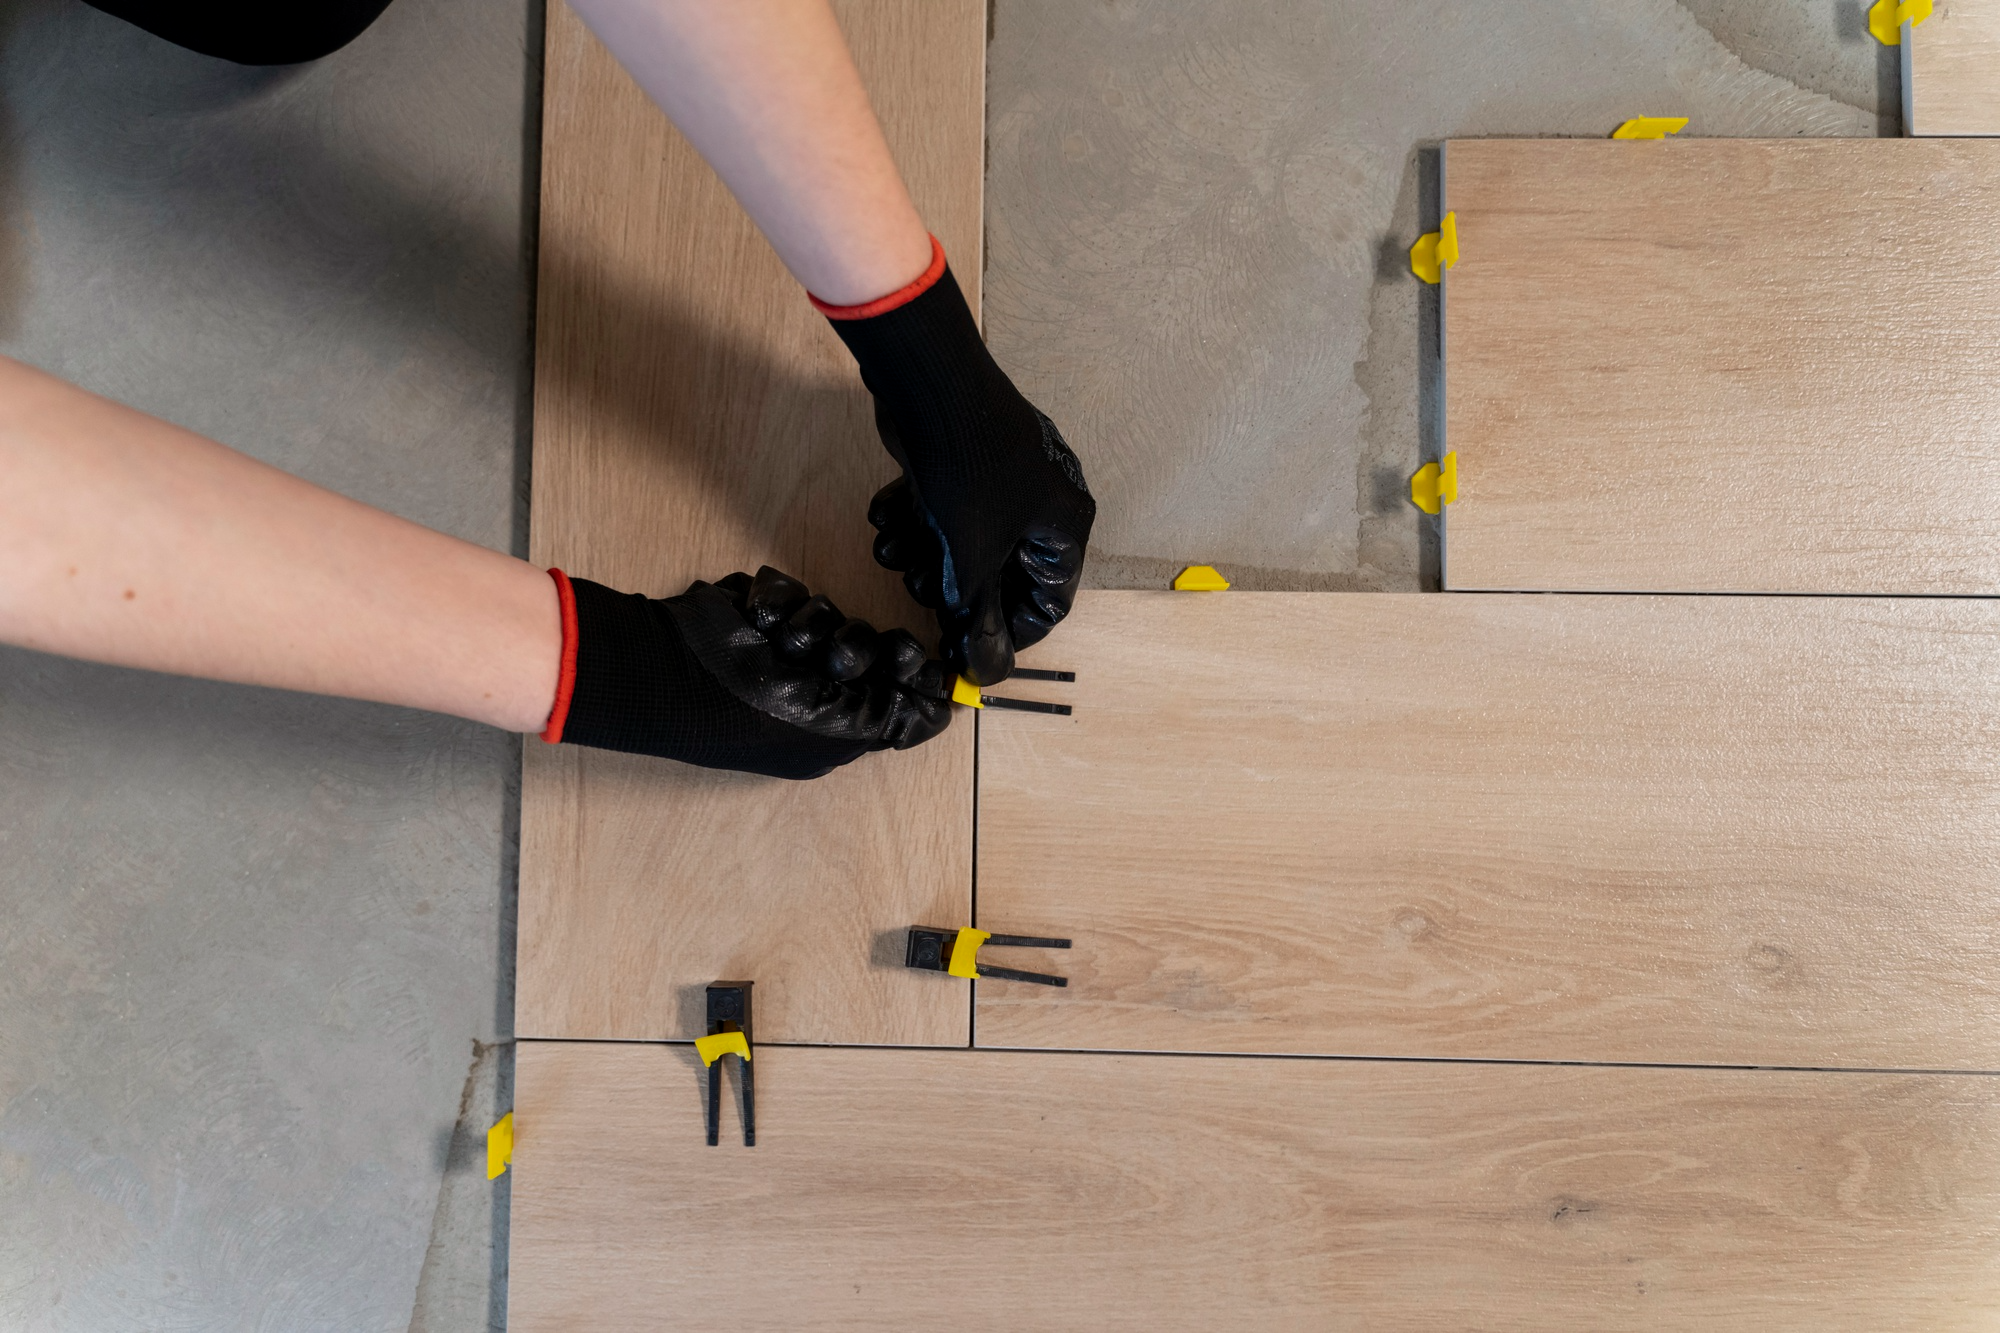
Why Proper Tile Spacing and Alignment Matter
Alignment is the difference between a "DIY look" and a professional masterpiece. Even a 1mm mistake in the beginning of your tile installation steps will grow into a massive gap by the time you reach the other side of the room. Using a high-quality leveling system is a vital part of any modern tile installation guide. These clips ensure that "slippage" (one tile being higher than another) is eliminated, creating a perfectly smooth surface that is easy to clean and safe to walk on.
How to Make Sure Your Tiles Don’t Crack Later
Cracked tiles are almost always caused by movement underneath the surface. To prevent this, never skip "expansion joints" in large rooms. These are gaps filled with flexible caulk instead of hard grout, allowing the floor to expand and contract with temperature changes. Furthermore, during a ceramic tile installation or a subway tile installation, ensure you have 100% mortar coverage. Air pockets underneath the tile act like "traps" that cause the tile to snap the moment someone steps on it or drops a heavy object.
What Should You Check Before Final Tile Installation?
Before you apply grout and call the project finished, go through this final tile installation guide checklist:
-
The Tap Test: Gently tap each tile; a "hollow" sound means it isn't bonded properly.
-
Alignment Check: Use a laser level to ensure your subway tile installation rows are perfectly straight.
-
Clean Groovelines: Scrape out any excess mortar from between the tiles while it’s still soft.
-
Leveling: Ensure there is no slippage at the corners.
Conclusion
Installation of tiles is a long-term investment and therefore, it is not worth the risk to forego the right steps in installing a tile. At Tiles and Deco, we would see your home appearing perfect years later, be it wall tile installation or an expensive subway tile installation. With the help of an appropriate tile installation guide, you will be able to avoid expensive mistakes and have a professional finish. Visit Tiles and Deco today to discover the quality materials and support you require in your next project!
