


Mosaic Tile Backsplash Installation Guide for a Stylish & Easy Kitchen Upgrade
You may find it overwhelming to upgrade your kitchen, and one of the best and most affordable ways to give it a fresh look is to install a mosaic tile backsplash. Not only does it enhance the aesthetic appeal, but it also serves as a practical solution, preventing splatters or splashes from damaging your kitchen walls. This guide will also teach you to install a mosaic tile backsplash installation with the help of a few straight lines, even when you are a beginner in DIY.

Why Choose a Mosaic Tile Backsplash?
A mosaic tile backsplash offers infinite design possibilities. Available in various colors, shapes, and materials, mosaic tiles can suit any kitchen style, whether you're aiming for a sleek, modern look or a more rustic charm. Moreover, mosaic backsplash for kitchen applications is simple to clean, making it a perfect addition to busy kitchens. Most importantly, installing a backsplash yourself is much easier than you might think, and this DIY project is ideal for anyone eager to add a personal touch to their kitchen.
Step-by-Step Guide to Installing Your Mosaic Tile Backsplash
1. Prepare Your Kitchen Wall
The first step in any kitchen wall tile installation project is to ensure the wall is clean and smooth. Remove any existing backsplash or debris and wipe down the surface. If the wall has uneven spots, use a levelling compound to smooth them out. Once the surface is prepped, measure and mark the area where your tiles will be installed, ensuring it's level.
2. Apply Tile Adhesive
The next step in “how to install mosaic tiles” is to apply tile adhesive to the wall using a notched trowel. It’s essential to only apply the adhesive to a small section at a time to prevent it from drying out before you place the tiles. Ensure the adhesive layer is smooth and even; any lumps can cause uneven tiles.
3. Place the Tiles
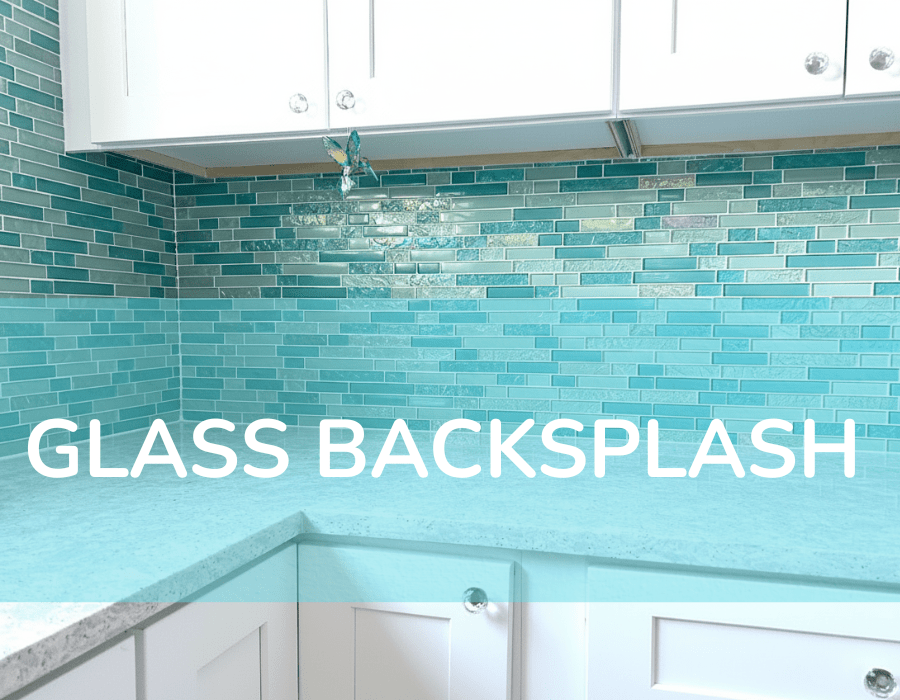
It is now time to install the mesh-backed mosaic tiles on the wall. Begin at the bottom of the wall and firmly press each tile into the adhesive. Spaces between tiles should match the tile spacers. When using glass mosaic tiles, be careful during installation, as they can break or chip easily when pressed too hard.
4. Cut Tiles for Edges and Outlets
When you reach the edges or the space around outlets, you will need to cut a few tiles to fit. This may be difficult, but with the necessary mosaic tile tools and materials, including a tile cutter or wet saw, you can make a precise cut. Measure it, and be careful to cut it so that it fits perfectly.
5. Grout the Tiles
After the adhesive has been applied to all the tiles, allow it to dry for 24 hours. Then, put grout in the spaces between the tiles. Apply grout with a rubber float to press it into the gaps. Clean up any spillage with a moist sponge, taking care not to move the tiles. Wait for the grout to dry, then buff the tiles with a clean cloth to remove the grout haze.
Tips for a Professional Finish
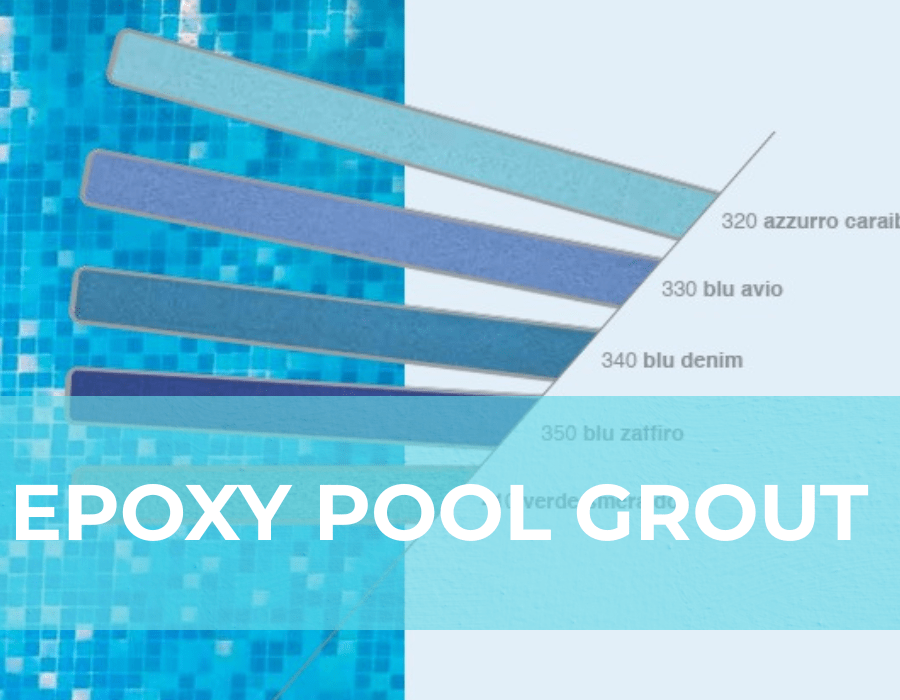
- Use the right adhesive and grout: When highlighting a glass mosaic backsplash installation, use adhesive and grout specifically designed to work with glass tiles to avoid discoloration or wear after being used.
- Work in small sections: This will help you work more systematically and ensure the adhesive does not dry before you can use it.
- Take your time: Cutting tiles around outlets and edges can be tricky, but taking your time will help you achieve a clean, professional look.
Conclusion: Achieve Your Dream Kitchen with Mosaic Tiles
The best thing about making a mosaic tile backsplash on your kitchen wall is that it is one of the simplest ways to beautify your kitchen and improve its functionality. It can be made into a beautiful feature, and it will revolutionize your kitchen with the right tools and materials, which takes a bit of patience. It is a great DIY mosaic tile backsplash project, whether you are new to DIY or an experienced DIYer looking for a unique way to personalize your home. You can find the best materials you need; TilesandDeco offers an exclusive line of mosaic tile equipment and materials for your next kitchen remodel.FAQs
Is mosaic tile backsplash installation beginner-friendly?
Yes! With the right tools and instructions, even beginners can complete a mosaic tile backsplash installation with confidence.
What tools do I need for installing a mosaic tile backsplash?
You'll need a tile cutter, notched trowel, level, tile adhesive, grout, and tile spacers.
How do I prepare my kitchen wall before installing mosaic tiles?
Ensure the wall is clean, dry, and smooth. You may also need to apply a primer coat, depending on the wall material.
What is the best adhesive and grout for mosaic tile backsplash installation?
For kitchen backsplashes, a high-quality, waterproof adhesive and grout designed for wall tiles are recommended.
How do I cut mosaic tiles neatly around outlets and edges?
Use a tile cutter or wet saw, measure carefully, and cut slowly to ensure neat, precise cuts.

Leave a comment
This site is protected by hCaptcha and the hCaptcha Privacy Policy and Terms of Service apply.