Perfect Home Makeover with Decorative Tile Installation
As we venture into 2025, many search for creative ways to infuse life into our living spaces. The solution is right at your fingertips -Decorative Tile. These tiles not only bring functional value to your spaces but can dramatically transform your home's aesthetics, offering an ambiance that mirrors your personal style.
Where Can a Decorative Tile be Installed in Your Home?
The adaptability of decorative tiles makes them perfect for virtually any space in your home, adding a touch of sophistication and charm. You can install decorative tilef for outdoor spaces, accents, backsplashes, feature walls, and much more. Let's explore the different areas in your home that can be transform with decorative tiles:
1. Kitchen
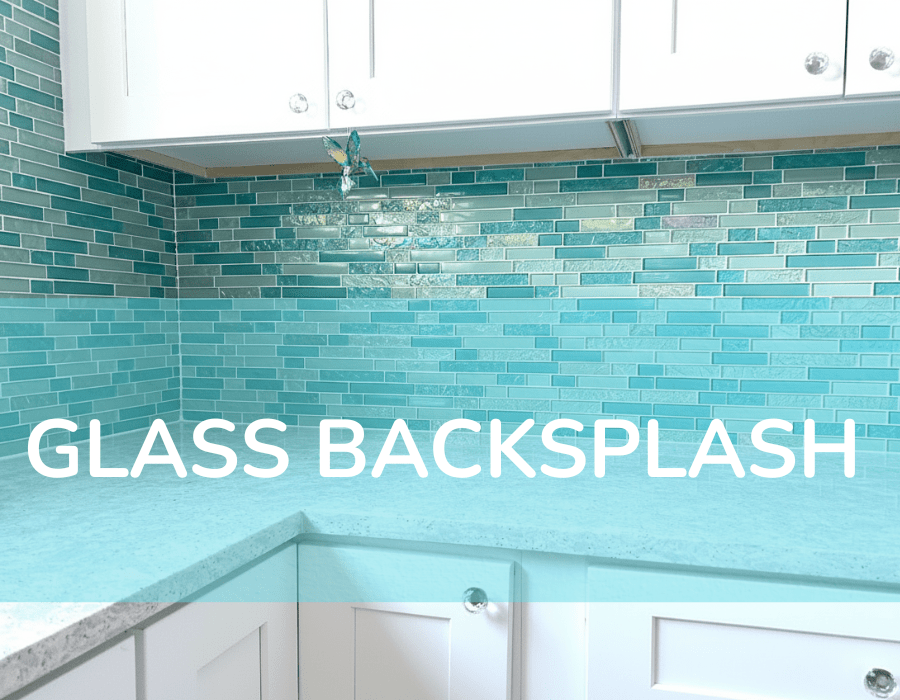
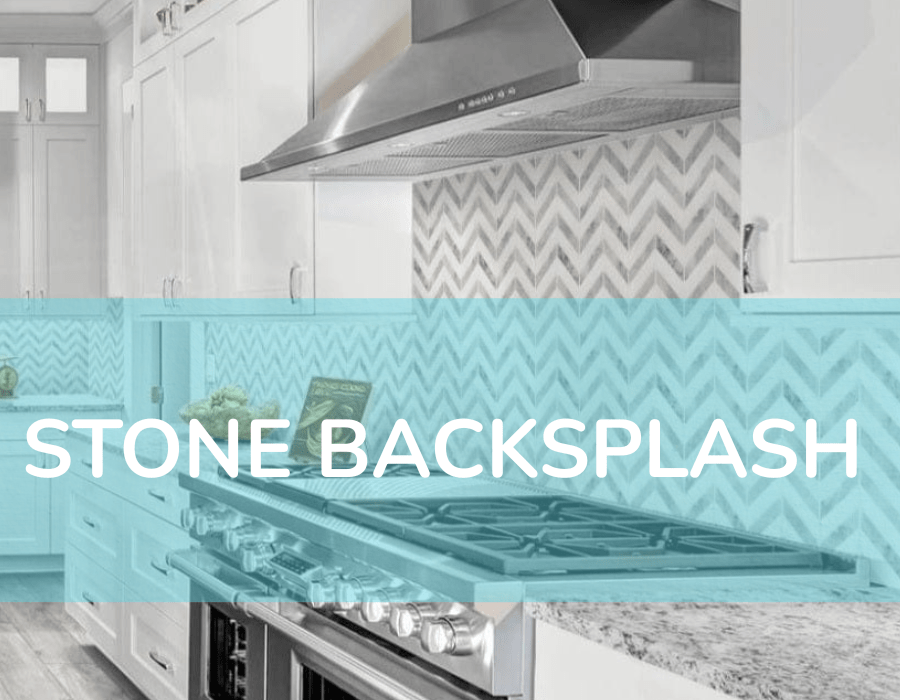
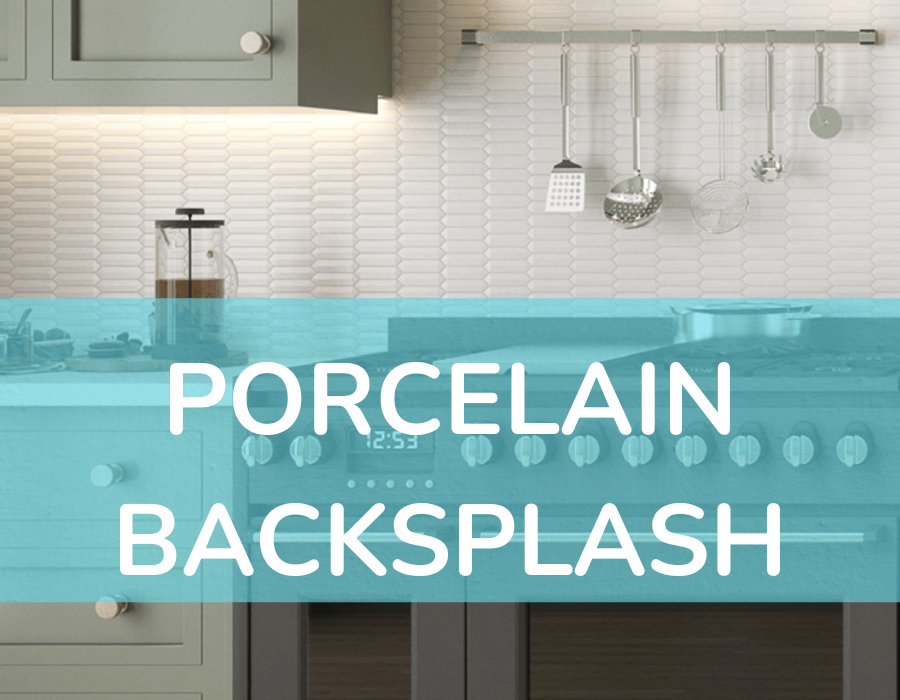
The kitchen is your home's heart, and decorative tiles serve as both stylish and practical solutions here. Decorative tiles for backsplash shield your kitchen walls from cooking splatters and become a focal point that adds personality and style to your culinary space. Decorative kitchen backsplash patterns can inject a pop of color into a neutral kitchen, while a subtler tone can add texture and depth.

2. Bathrooms
Bathrooms are another prime location for decorative tiles. Their resistance to moisture and easy-to-clean nature make decorative bathroom tiles ideal for bathroom walls and floors. From creating an accent wall in the shower area to tiling the entire Bathroom Wall for a luxurious feel, these tiles offer endless possibilities to transform your bathroom from an entirely functional space to a personal spa-like retreat. Check out our latest guide on how decorative bathroom wall tiles can transform your space with elegance and sophistication. Discover stunning design tips now!

3. Living Room and Hallways
Why limit artwork to frames when you can turn your entire wall into a piece of art? Decorative tiles can turn a simple wall into a stunning feature in your living room or hallway. The choices are endless, from intricately patterned tiles for a boho-chic vibe to sleek, metallic tiles for a more modern, sophisticated look. These room decor decorative tiles create an attention-grabbing focal point and spark conversation among guests. Explore our latest blog on how to make your space extraordinary with decorative wall tiles. Unlock expert tips and design inspiration for a stunning transformation!

4. Outdoor Spaces
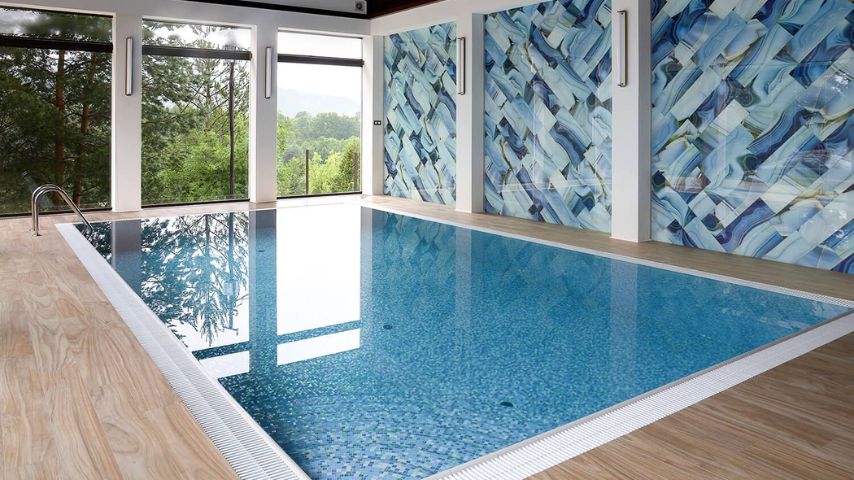
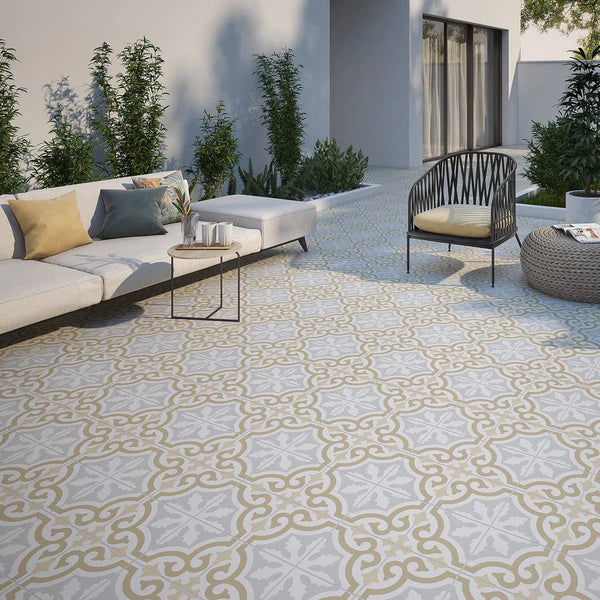
Decorative tiles are perfect for adding character to your outdoor living spaces. Whether improving your patio with geometric-patterned tiles, adding a stylish edge to your pool surrounds, or transforming your outdoor kitchen with colorful tiles, they can seamlessly merge your home's indoor and outdoor aesthetics. These tiles are designed to be durable, weather-resistant, and easy to clean - which makes them ideal for outdoor use.

5. Other Areas
The versatility of decorative tile flooring options allows you to think creatively and use these tiles in unexpected places. Imagine your stair risers in colorful, patterned tiles – each step you take is a step upwards and towards a more artful, expressive home. You can also use these tiles as accents alongside larger tiles or wall materials for intricate designs and a unique, personalized look

Step-by-Step Guide on to Install Decorative Tile
Transforming your home with decorative tiles is not only exciting but also a rewarding project that allows you to infuse personal style into your space. However, tile installation requires precise attention to detail to ensure an impeccable finish. Follow this comprehensive, step-by-step guide for a flawless installation:
1. Prepare the Necessary Tools
Before starting, you must make sure that all the necessary tools are present in your hand. The essential equipment includes a measuring tape for accurate measurements, tile cutters or a tile-saw for cutting tiles to the correct size, spacers for maintaining an even gap between tiles, a trowel for applying adhesive, and grout for filling spaces between tiles.
2. Measure Your Space
Accurate measurements are crucial to determining the number of tiles you need - which is essential to avoid waste or shortage. Use a measuring tape to measure the length and width of the area where the tiles will be installed. Then, you have to multiply these numbers to get the total square footage. Always buy some extra tiles to account for any future cuts and breakages.
3. Prepare the Surface
The surface on which tiles are installed must be clean, flat, and dry. Remove any dirt or debris and ensure there are no bumps or cracks. If the surface isn't level, consider using a leveling compound. If you're applying tiles on a wall, make sure the wall is sturdy enough to support the weight of the tiles.
4. Apply Adhesive
Once the surface is prepared, apply a layer of adhesive. This process should be done in small sections to prevent the drying of the adhesive before the tiles are placed. Use a notched trowel to spread the adhesive evenly, creating ridges to help the tiles adhere better.
5. Cut and Install Your Tiles
Lay out your tiles on the floor to decide on the pattern and identify any tiles that need cutting. Mark the cutting line on the tile with a pencil and use a tile cutter or tile saw to cut. Start installing from the center of the space and work outwards. Place tile spacers at each tile corner to maintain consistent gaps for the grout.
6. Let Adhesive Cure and Apply Grout
After all the decorative tiles are installed, allow the adhesive to cure as per the manufacturer's instructions. Once cured, remove the spacers, apply the grout with a rubber grout float, and press the grout into the gaps properly.
7. Clean and Let Grout Dry
You must wipe away any excess grout with a damp sponge before it dries, being careful not to pull grout out of the tile joints. Once the grout is dry, usually after 24 hours, apply a grout sealer to prevent stains and moisture absorption.
8. Final Touches
After the grout sealer has dried, you can proceed with any other decor. It could include caulking along the corners or where the tile meets other surfaces.
Patience, precision, and attention to detail are essential during the tile installation process. When followed accurately, these steps will help ensure your decorative tile project is a success and adds a beautiful, enduring touch to your home. With your hard work and Tiles And Deco's exquisite range of decorative tiles, you're on your way to creating a truly your space.
From practical applications to purely aesthetic ones, decorative tiles can bring your design visions to life, transforming your spaces from ordinary to extraordinary. Whether inside or out, each corner of your home can be a canvas to express your personal style with decorative tiles. With Tiles And Deco's wide selection, the only limit is your imagination.
Get Exclusive Decorative Tile for Your Home Online
Ready to revolutionize your home? Tiles And Deco offers an extensive range of top-quality decorative tiles to make your dream home a reality. With our selection of premium tiles, you'll find the perfect tile for your home in your style and budget. Begin your journey with Tiles and Deco today to create the dream home you've always envisioned.
FAQs
1. How to put decorative tiles on wall?
To put decorative tiles on a wall, clean and prepare the surface, apply tile adhesive, and press the tiles into place using spacers for even spacing. Once set, apply grout between the tiles, wipe off excess, and let it dry before sealing the grout for protection
2. How can a decorative tile transform a space?
A decorative tile can dramatically transform a space by adding color, texture, and pattern. They can create a focal point, define different zones in an open-plan space, or add an artistic touch to an otherwise plain area. With various styles and designs available, decorative tiles can cater to any aesthetic, from modern and minimalist to traditional and ornate.
3. Can I install decorative wall tile on my own, or do I need a professional?
While it's possible to DIY a decorative wall tile installation, having the right tools and knowledge is important. The process involves precise measuring, cutting, and aligning, so any error can be costly. If you need help, hire a professional to ensure the best quality finish.


