

A Complete Guide For Pool Waterline Tile Replacement

Swimming pools are the most intriguing part of your home decor. However, you might need an instant pool waterline tile replacement after a while. With time and external factors, pool tiles start deteriorating and need immediate replacement. To address this, you must start early to prevent severe damage to your pool floor, wall, or accents.
We understand that changing or replacing the pool tile can be daunting. But we have provided a detailed way to replace the waterline pool tiles and return your attractive and alluring pool in no time. Before starting a replacement, we need to know the core reasons for pool damage and why we need to replace the tiles at our places.
What Are The Reasons Behind Pool Waterline Tile Replacement?
Nobody likes to replace or repair their pool tiles as it is quite hectic and expensive if you prefer costly or delicate materials. Most people follow a strict maintenance routine to protect the pool and prevent tile damage. However, there are many reasons why replacing pool tiles is a good idea. Some of the common reasons are.
Here's a detailed look into the reasons:
1. Broken or Cracked Tiles
If your pool tiles are broken or cracked, it is time to contact a professional. Besides being unsightly, damaged tiles can cut you and your loved ones as you lean on the pool wall. Fortunately, opting for waterline tile replacement will help you prevent this. Contact your trusted company and get the repair and replacement started immediately.
2. Old Tiles
Time significantly affects your pool's tiles, causing them to fade. While proper maintenance can help extend the appearance and lifespan of your tiles, there will come a time when replacement will be necessary. A proficient team will help you replace pool tile without draining using cutting-edge tools without damaging the other tiles.
3. Missing Tiles
As your tiles age and wear down, they will begin to wither away and fall off. If you notice several tiles missing from different areas of your pool, do not hesitate to contact your nearest team for the professional pool waterline tile repair and replacement services your pool needs.
4. Loose Grout
It also helps monitor the grout condition between your pool tiles. When the tiles become worn out, grime and debris can quickly get through the open space. This leads to the corrosion of the grout, which loosens the tiles further, causing them to fall apart. While re-grouting can solve the problem, opting for reliable replacement services is the more lasting solution.
5. Presence of Mold and Mildew
Inspect thoroughly to see if your pool tile's outer surface has developed mold and mildew. Prompt, professional assistance for pool tiles replacement is essential in limiting mold growth and spreading. Contact a reputable company to inspect your pool tiles and determine the best action.
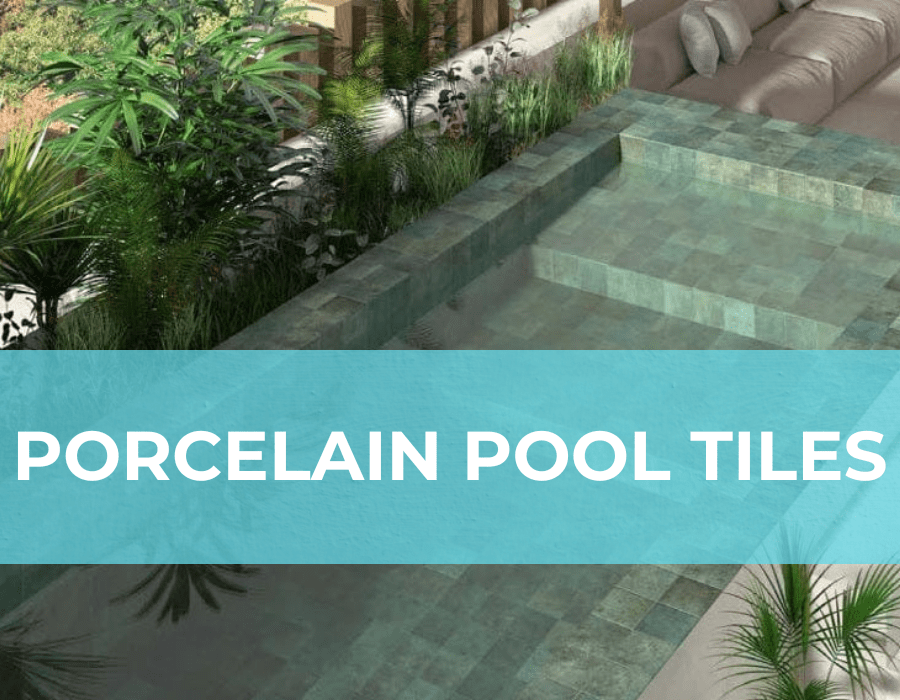
These are some prominent reasons why replacing the pool tiles can become inevitable. A durable tile replacement company can help you complete this project. They will thoroughly inspect and transform your pool tiles into an oasis in less time. For repair of pool tiles waterline, porcelain, and ceramic tiles are preferred. This kind of tile offers the most reliability, water and chemical resistance, and is highly non-slip.
Effective Tips For Pool Tile Replacement
Replacing or Upgrading swimming pool waterline tiles is more than a mere cosmetic enhancement. It ensures the pool's functionality and aesthetic appeal. The following points explain the step-by-step process of pool tile replacement.
1. Tiles Assessment
Assessing the extent of damage or wear before beginning the pool waterline tile replacement process is essential. Check for cracks, chips, loose tiles, discolorations, or other signs of wear and tear. While a personal check is helpful, having a pool professional assess the condition of the tiles can offer a deeper insight. They can guide you on whether a replacement is necessary or if minor repairs will suffice.
2. Select Replacement Tiles
Once you've determined the need for replacement, Choosing the right waterline pool tile is the next step. Consider factors like resistance to pool chemicals, UV rays, and physical wear. Some materials may be more durable than others, impacting longevity and maintenance. Choose The Best Pool Color For It when selecting the right shade or design for your pool waterline tile.
3. Pool Draining
Before commencing the actual replacement process, the pool must be drained to a level below the waterline tiles. Ensure you follow local guidelines for pool draining, as direct draining might affect local water systems.
4. Tile Removal
With the new tiles in hand, start by draining the pool to a level below the waterline tiles. Then, carefully remove the old tiles. Be careful during this step, as you can easily damage the pool while eliminating the tiles. Use a specialized chisel, hammer, or professional tools to remove old tiles. Now, you are ready to move on to the next step of retiling the pool.
5. Surface Preparation
Clean the area thoroughly, ensuring no residues remain and providing better adhesion for the new tiles. Make sure the surface is smooth and even. Address any irregularities before installing the new tiles.
6. Tile Installation
Clean the area thoroughly, ensuring no residues remain and providing better adhesion for the new tiles. Make sure the surface is smooth and even. Address any irregularities before installing the new tiles.
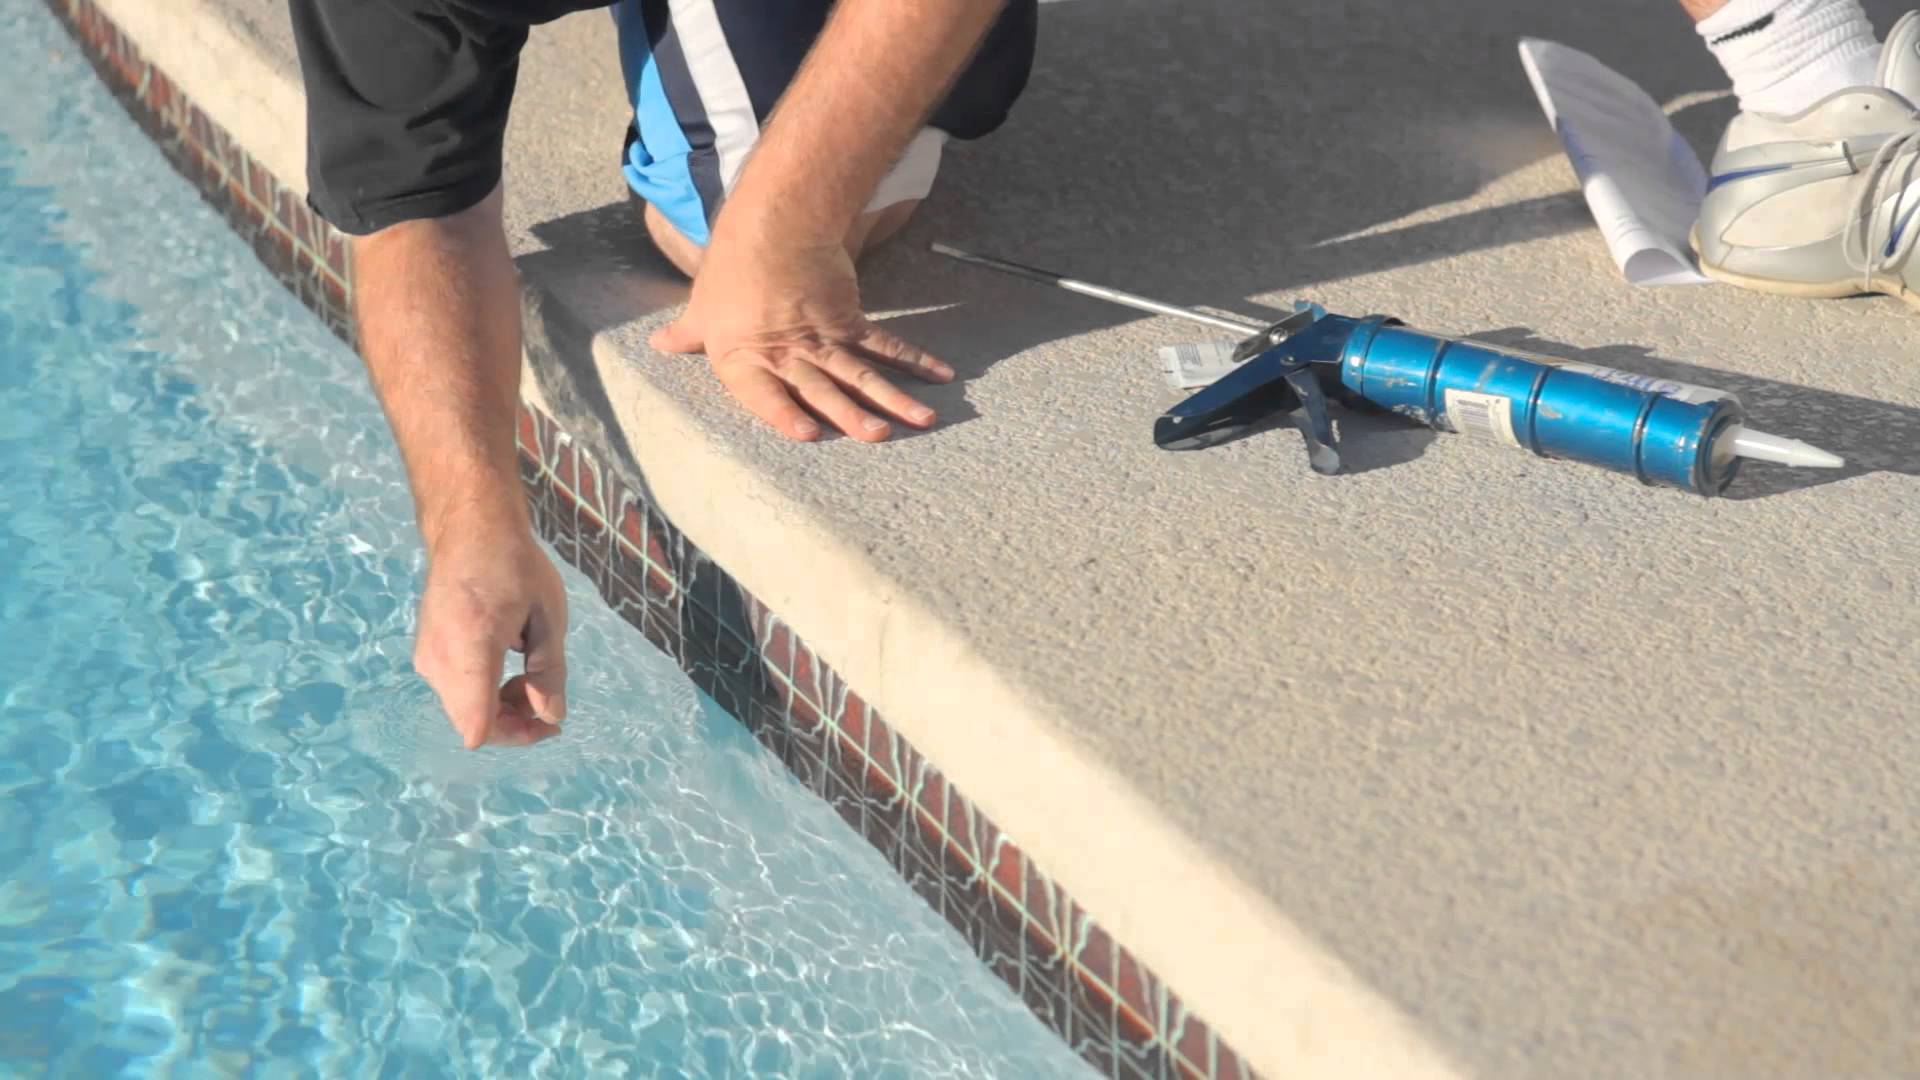
7. Grouting
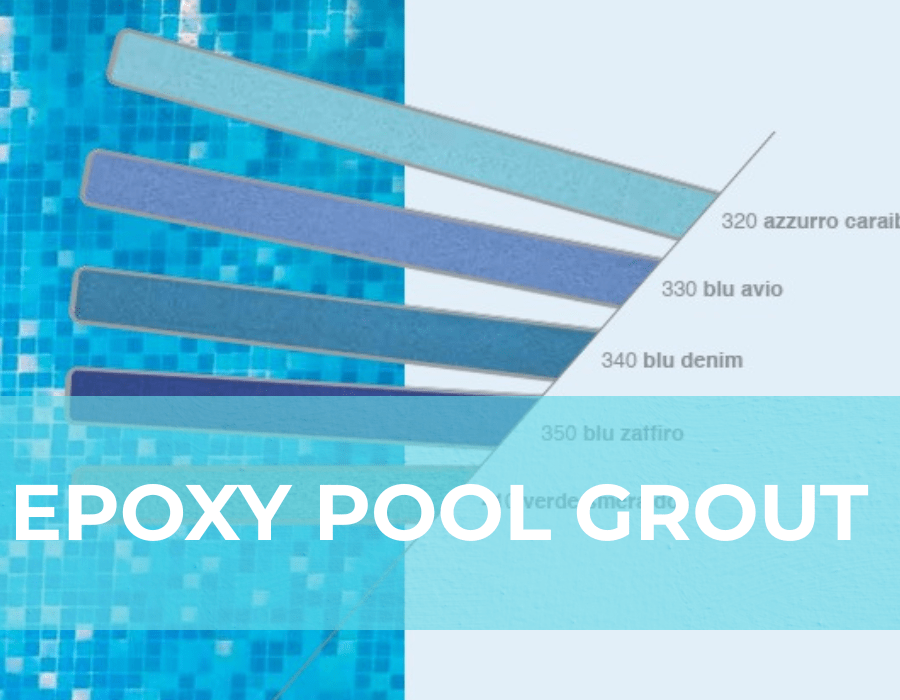
You can grout the tiles after setting the adhesive for the recommended time (typically 24 hours). Use a waterproof, pool-grade grout. Start applying the grout using a rubber float, pressing it into the spaces between tiles, and scraping off the excess.
8. Curing & Sealing
Apply the grout to cure for the time specified by the manufacturer. Once you have set it, contemplate sealing the grout lines to improve water resistance and prevent discoloration.
9. Refilling the Pool
Once everything is set and cured, refill the pool. For the next few days, monitor the water chemistry closely and make any necessary adjustments.
10. Ongoing Maintenance
While new tiles can revitalize your pool's look, ongoing maintenance is vital. Regularly clean waterline pool tiles , check for any signs of damage and fix minor issues before they escalate.
Explore Premium Tiles Collection Online
Here is a detailed process of how you or a tile replacement company can change your swimming pool tiles. To get a long-lasting result for your pool waterline tile replacement, you must address the core reason and fix it beforehand. This small step will make your new tiles last longer and have a striking effect for an extended period.
Are you planning to replace your pool tiles and looking for tile options? Visit Tiles and Deco today and discover multiple designs, textures, and colors to decorate your pool tiles according to your taste. We offer durable and sturdy tiles that make your pool area appealing for a long time without getting chipped or cracked. Visit our website now to place your order!
FAQs
How to replace pool tiles?
First, you must remove old tiles, clean the surface, apply waterproof adhesive, and lay new tiles with matching grout to seal them. Now you have new, shiny pool tiles.
How to retile a pool?
First, drain the water from the pool, prepare the surface, apply a strong adhesive, and create your desired design with tiles. Seal them with matching grout and fill the tool with water again
How to remove and replace pool tile?
Using professional tools, you must scrap all the old and chipped tiles from the pool. After that, you can start retiling the pool to begin the replacement process.
Can you replace the pool tile without draining it?
Yes, you can replace the tiles without draining using specialized underwater adhesives and grout for minor repairs.
How to replace pool tiles underwater?
Use underwater epoxy adhesive, place new tiles, and seal it with underwater grout mix. You don’t have to drain the water, and you can conveniently have a fully functional pool.
Written by Tiles and Deco